
⏱️ Accent Pillows: Core Specifications
- Difficulty: Intermediate
- Time Required: 1 hour per pillow
- Core Tool: Sewing machine, invisible zipper foot, scissors, iron
- Key Benefit: Achieves a clean, seamless finish that matches commercial luxury pillows.
Accent pillows are the easiest way to refresh a living space or introduce a new color palette. While basic envelope pillows are great for beginners, adding an invisible zipper gives your pillows a clean, professional finish that rivals high-end US home decor boutiques. Many beginner sewists are intimidated by zippers, but with the right foot and a few simple tricks, you can install them flawlessly in under ten minutes. The secret lies in preparation and understanding how the zipper coils fold and unfold under the sewing foot.
Gather Your Materials and Tools
To sew a standard 18x18-inch accent pillow, you will need:
- Fabric: 1/2 yard of heavy-duty home decor fabric (jacquard, velvet, or heavy linen). Choose a fabric that is stable and doesn't stretch easily.
- Pillow Insert: A 20x20-inch down or down-alternative insert. (Pro tip: Always use an insert that is 2 inches larger than your pillow cover for a plump, luxurious look with no empty corners).
- Zipper: An 18-inch invisible zipper matching your fabric color. (Note: Invisible zippers look like a normal seam from the front once installed; the coils sit on the back side of the zipper tape).
Preparing the Fabric Panels
Cut two squares of fabric measuring 19x19 inches (this includes a 1/2-inch seam allowance). Finish the edges of your cut squares with a zigzag stitch or a serger to prevent fraying, especially if you are using loosely woven fabrics like chenille, jacquard, or linen. Press both squares flat to ensure accurate seams. If your fabric has a directional pattern, make sure it is oriented correctly on both pieces before sewing.
Installing the Invisible Zipper
Don't be intimidated by invisible zippers! The key is pressing the zipper coils flat before sewing to allow the needle to get close to the zipper teeth:
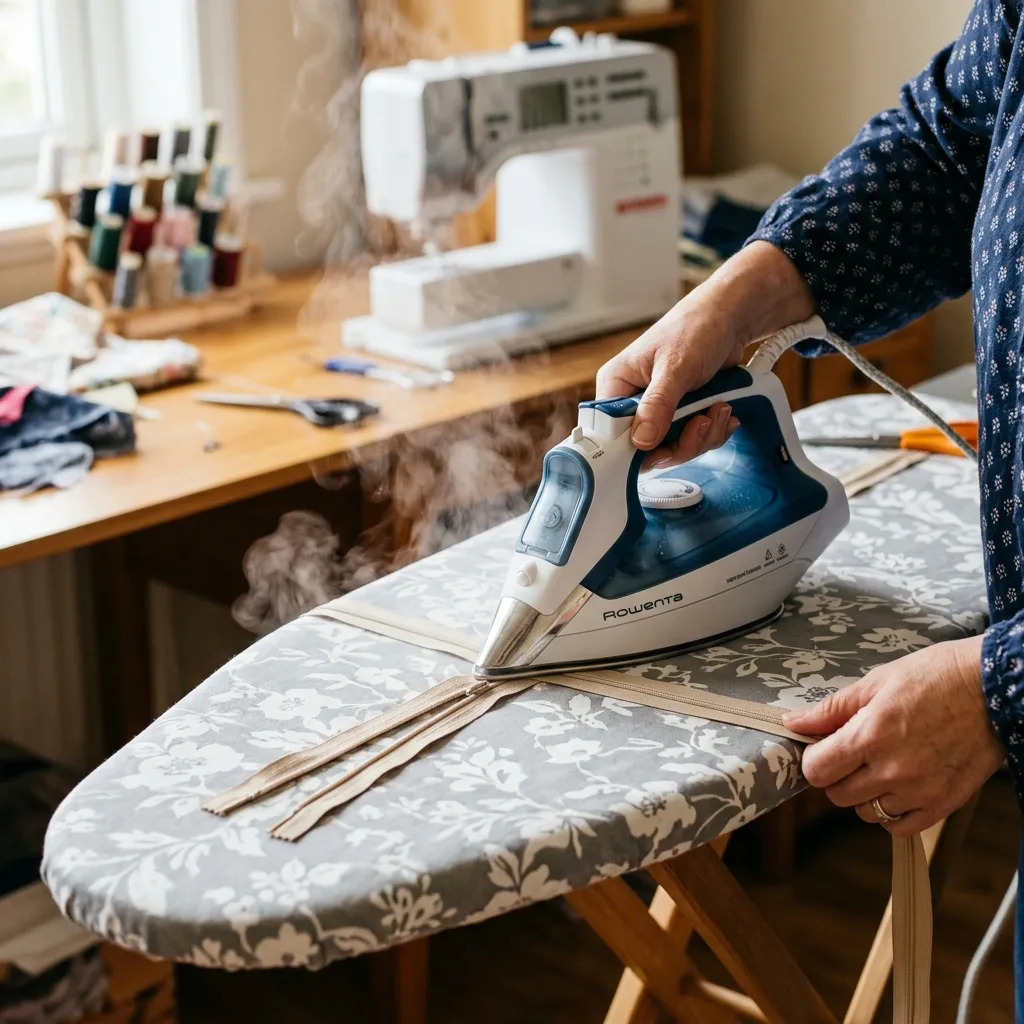
- Unzip the zipper completely. Use a medium synthetic heat setting on your iron (without steam) to press the plastic zipper coils flat. This unrolls the coil so you can sew right next to the teeth.
- Place one side of the zipper tape face down along the bottom edge of one fabric panel (right sides together), aligning the top edge of the zipper tape with the edge of the fabric. The zipper teeth should point away from the edge.
- Position the fabric under the sewing machine. Place the pressed-flat zipper coil in the left groove of your invisible zipper foot. Backstitch at the start and sew slowly down the length of the zipper. Stop about 2 inches before the end slider, and backstitch.
- Now, lay the second fabric panel flat, right side up. Place the first panel (with the zipper attached) on top of it, right sides together. Align the bottom edges and pin the free zipper tape to the bottom edge of the second panel.
- Unzip the tape completely if you closed it to align. Put the zipper coil into the right groove of the invisible zipper foot and sew down the second tape, matching the starting and stopping points of the first side.
"The secret to a perfectly square pillow corner is trimming the corner seam allowance diagonally before turning the cover right-side out. This prevents bulk from gathering in the corners and ensures a sharp point."
Assembling and Sewing the Pillow Body
With the zipper installed, close the zipper halfway. This is a critical step; if you forget to open the zipper, you won't be able to turn the pillow right-side out! Pin the two panels right sides together, aligning the other three sides of the fabric square.
Switch your machine back to a regular presser foot or a standard zipper foot. Start sewing at the bottom edge, just past where your zipper stitching ended. Sew off the edge, turn the corner, and continue around the other three sides with a 1/2-inch seam allowance. When you reach the zipper end on the other side, sew as close as possible to the zipper ends to close the gap.
Finishing and Styling
Trim the four corners of the pillow cover diagonally, taking care not to cut your stitches. Turn the cover right-side out through the open zipper. Use a point turner, a dull pencil, or a knitting needle to gently push the corners out so they are sharp. Press the seams flat with your iron. Insert your 20x20-inch pillow insert, tucking it firmly into the corners.

Zip up the invisible zipper—it should disappear completely, leaving a clean, high-end seam. Give the pillow a classic karate chop in the center to style it like a professional designer.
Frequently Asked Questions
Can I make an accent pillow without an invisible zipper foot?
Yes. You can use a standard zipper foot by rolling the zipper teeth flat with your fingers as you sew. However, an invisible zipper foot is relatively cheap and has grooves underneath that hold the coils flat automatically, which makes the process much faster and prevents stitching on top of the zipper teeth.
What is the best fabric for outdoor pillows?
For outdoor use, select solution-dyed acrylic fabrics like Sunbrella. These fabrics are water-resistant, UV-resistant, and stain-resistant. Pair them with polyester thread and a mold-resistant outdoor polyester insert to prevent mildew.