⏱️ Duvet Covers: Core Specifications
- Difficulty: Intermediate
- Time Required: 4-5 hours
- Core Tool: Sewing machine, buttonhole attachment, iron, measuring tape
- Key Benefit: A hidden placket keeps buttons secure and hidden from skin contact.
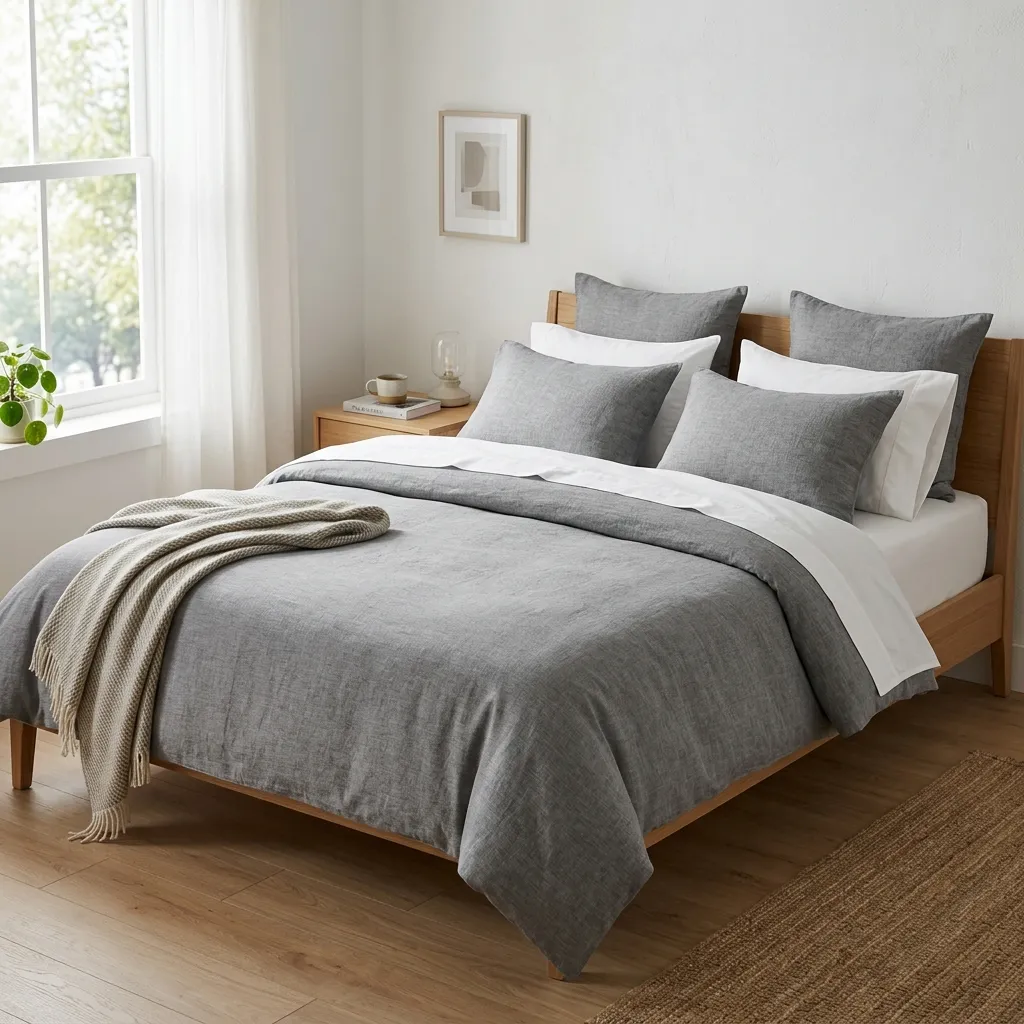
Your bed is the visual centerpiece of your bedroom, and the duvet cover is the primary design element. High-quality duvet covers made of organic cotton or Belgian linen can cost several hundred dollars in popular US bedding stores. Fortunately, sewing your own duvet cover is essentially a giant flat-seam project. The only tricky part is the closure. By mastering the hidden button placket, you will create a professional, sleek closure that keeps your comforter inside while hiding the buttons from sight, preventing snagging and giving a neat look.
Sizing and Fabric Requirements
Duvet sizes in the US are standardized but can vary slightly by brand. Always measure your actual comforter insert before buying fabric. Here are the standard dimensions:
- Twin: 68 x 86 inches
- Full/Queen: 90 x 90 inches
- King: 104 x 90 inches
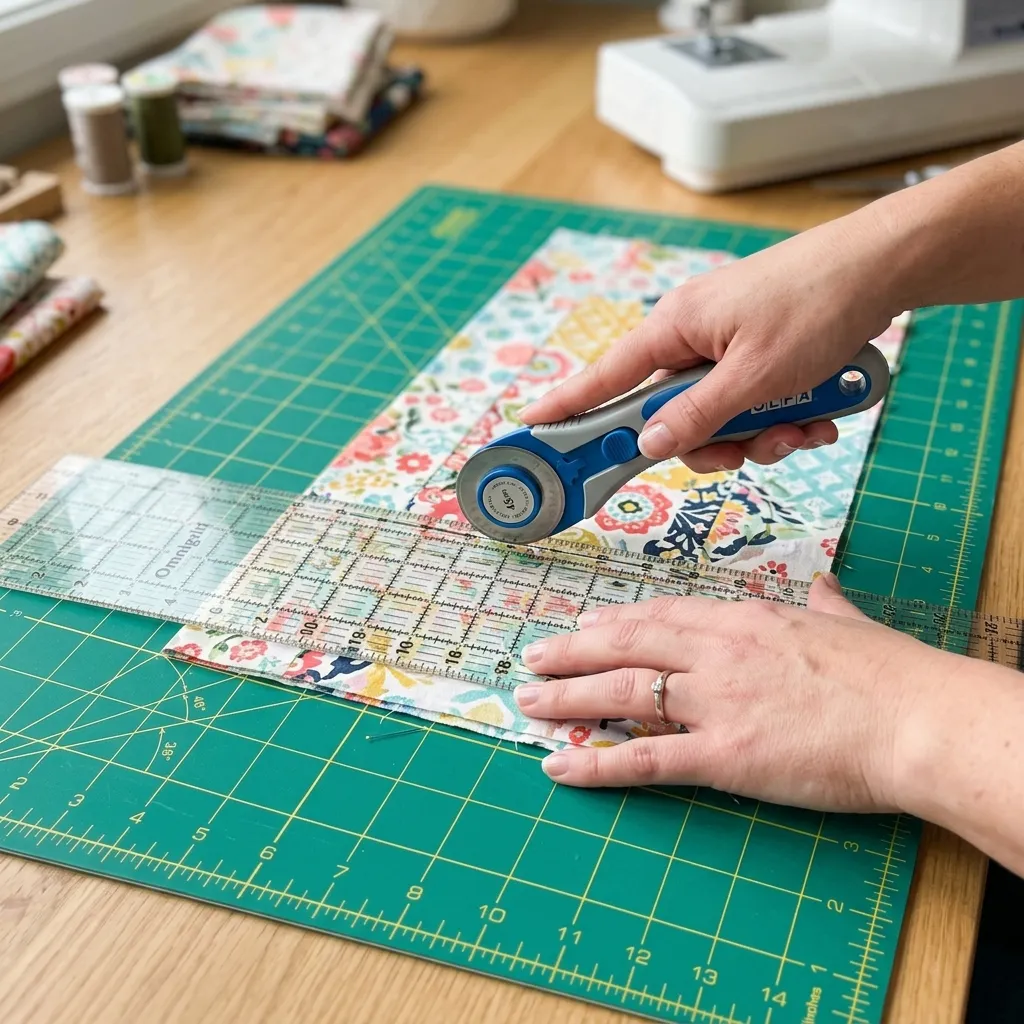
Since these dimensions are wider than standard 44-inch quilting cottons, you will need to purchase wide-width drapery/bedding fabrics (usually 108 or 110 inches wide) or sew panels together to create the width. Double-size flat sheets can also be used as a smart shortcut for fabric, saving you the hassle of matching print seams across the center of your cover.
What is a Hidden Button Placket?
A placket is a double layer of fabric that holds buttonholes and buttons. A "hidden" placket adds an extra fold of fabric over the buttonholes so that when the cover is closed, the buttons are tucked away out of sight, preventing them from catching on your skin or ruining the minimalist aesthetic of your bed. It mimics the finish found on high-end luxury linens.
Step-by-Step Placket Construction
To sew the hidden placket, follow these steps along the bottom edge of your duvet cover:
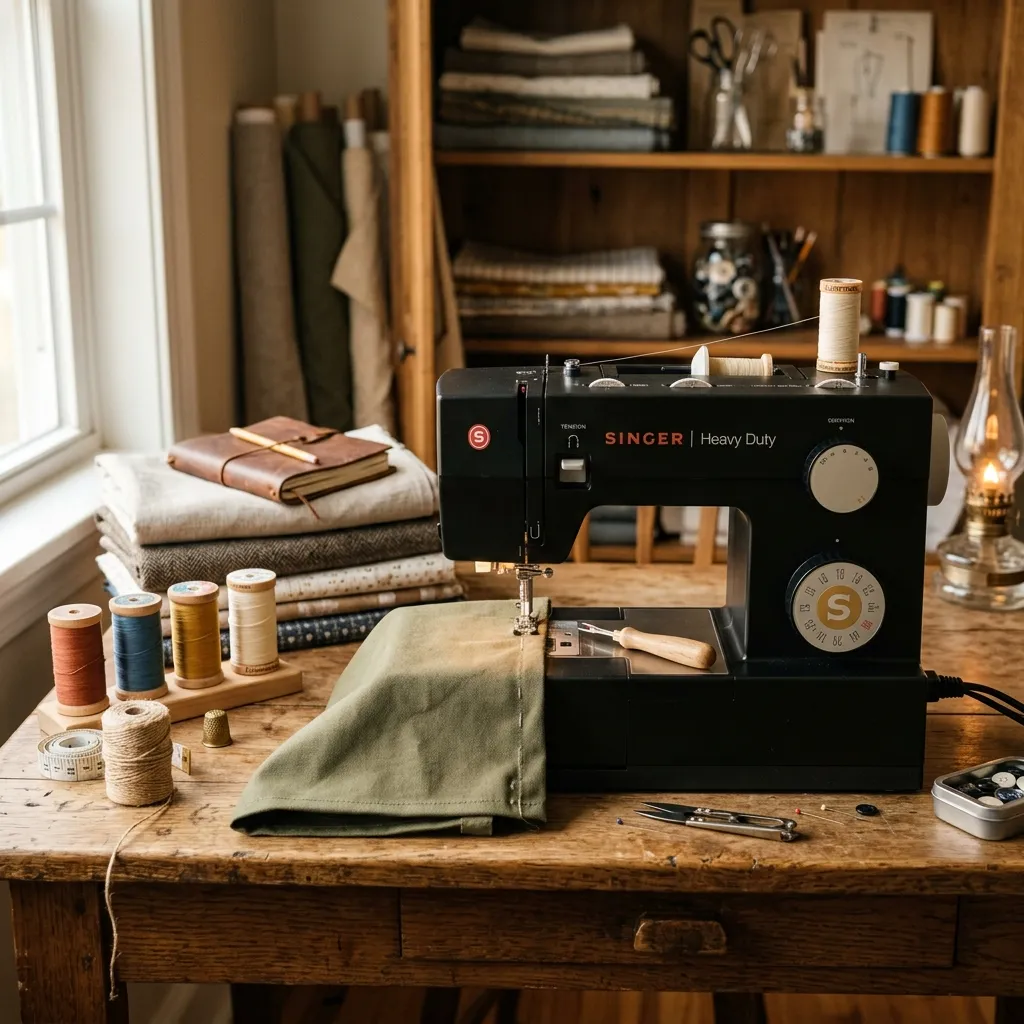
- Prepare the Opening: On the bottom opening of the duvet cover, fold the edge of the top panel back by 1 inch, then by another 3 inches to create a wide hem. Press this fold.
- Create the Internal Fold: Within this 3-inch fold, fold it back on itself to create an accordion-style flap. This flap will hide the buttonholes.
- Stitch the Buttonholes: Machine-sew buttonholes spaced about 8 inches apart along the inner fold of the placket. Use a stabilizer fabric inside the fold to prevent stretching.
- Attach the Buttons: On the bottom panel, fold and sew a standard 1.5-inch hem. Align it with the top panel and mark the button locations through your buttonholes. Sew the buttons securely onto the bottom panel.
"Add ribbon ties to the inside four corners of your duvet cover. Tie these to the loops of your comforter insert to prevent it from shifting and clumping up inside the cover."
Assembling the Rest of the Cover
Once your placket is complete, unbutton it. Place the top and bottom duvet panels right sides together, aligning the other three raw edges. Sew around the three sides with a 1/2-inch seam allowance. Finish the seams using a serger or a zigzag stitch to prevent fraying during washing. Turn the cover right-side out through the button opening, press the seams flat, insert your comforter, and button it up. Your cover is now complete!
Frequently Asked Questions
How many buttons do I need for a King size duvet cover?
For a King-size duvet cover (104 inches wide), you will need approximately 11 to 13 buttons spaced about 8 inches apart. Leave 4 inches of flat space at each corner before placing the first and last buttons.
What is the best fabric for a duvet cover?
Linen and cotton are the most popular choices. Linen is highly breathable and gets softer with every wash, while cotton sateen offers a smooth, silky feel. Choose a weight of 150-200 GSM for bedding.