
⏱️ Quick Guide: Pinch Pleat Curtains at a Glance
- Difficulty: Intermediate
- Time Required: 3-4 hours per pair
- Core Tool: 4-prong pleater hooks & 3-inch pleater tape
- Key Benefit: Provides tailored, professional-looking folds that stack neatly when opened.
Pinch pleat curtains are the gold standard of custom window treatments. Unlike basic rod pocket or grommet curtains, pinch pleats are gathered at the top and held by drapery hooks, creating elegant, uniform folds that hang beautifully. While store-bought custom draperies can easily run into thousands of dollars, you can sew your own high-end pinch pleat curtains at home using pleater tape and four-prong hooks. In this tutorial, we will break down the fabric calculations, construction steps, and professional styling secrets for a perfect installation.
Why Choose Pinch Pleat Curtains?
Pinch pleating adds instant sophistication and structure to a room. By gathering the fabric into double or triple pleats at regular intervals, the drapery is trained to stack neatly at the sides of the window when opened, instead of bunching awkwardly. This styling is highly favored in modern transitional and classic interior designs across the US. It gives your windows a high-end designer look while maintaining full functionality.
How Much Fabric Do I Need for Pinch Pleat Curtains?
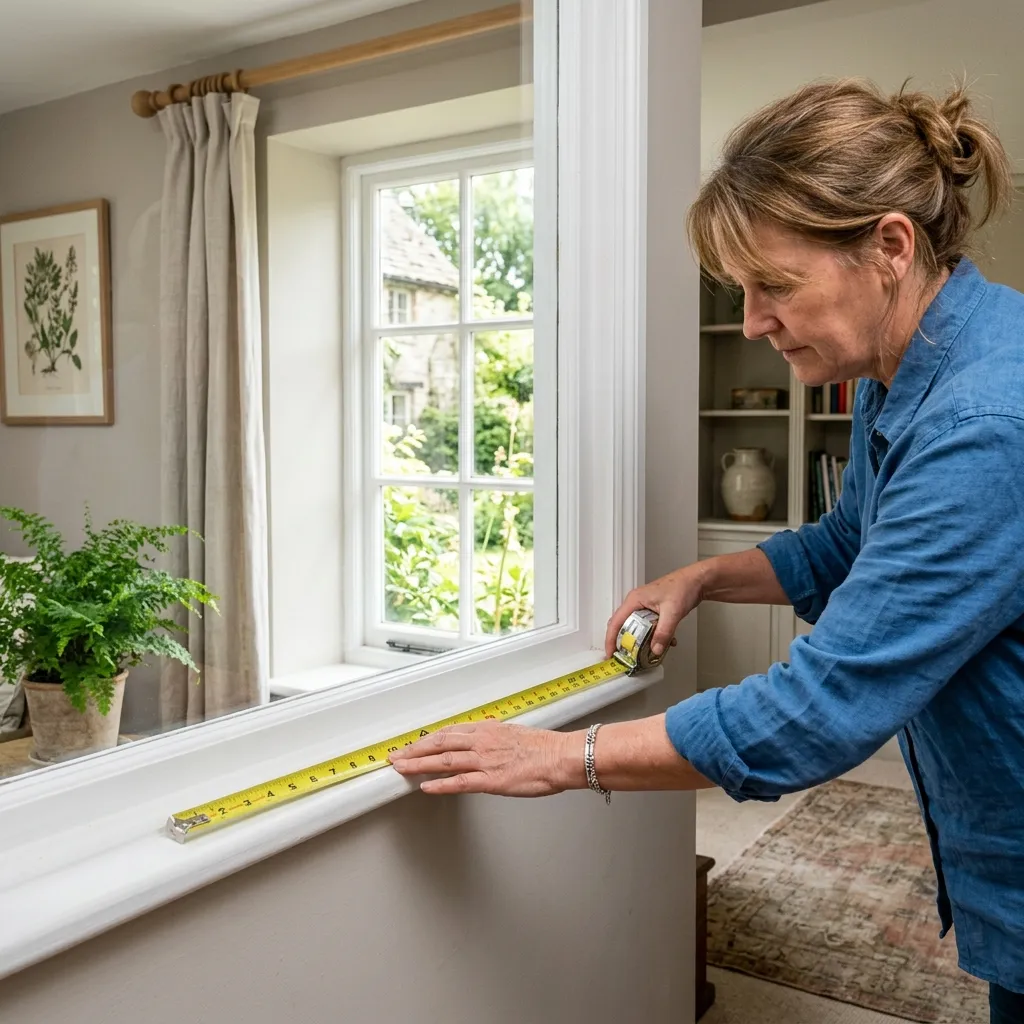
Calculating fabric yardage for pleated curtains can be intimidating. Follow this standard formula to get the exact amount of fabric required:
- Measure Rod Width: Measure the width of your curtain rod (excluding decorative finials). For example, 60 inches.
- Calculate Pleat Fullness: Pinch pleats require a fullness factor of 2.0x to 2.5x. We recommend a 2.25x fullness. Multiply your rod width by 2.25 (60" x 2.25 = 135" of total width).
- Add Seam and Overlap Allowances: Add 8 inches per panel for double side hems (4 inches per side) and 4 inches total for center overlaps.
- Divide into Panels: Usually, you will sew two panels. Divide the total width by 2 to get the width per flat panel before pleating.
- Determine Length (Drop) & Hems: Measure from the eyelet of your curtain rings to the floor. Add 12 inches to this measurement (8 inches for a double 4-inch bottom hem, and 4 inches for the top pleater tape hem).
| Window/Rod Width | Recommended Panel Width (Flat) | Total Yardage Needed (96" Length) |
|---|---|---|
| 36 to 48 inches | Two 54-inch panels | 6 yards |
| 60 to 72 inches | Two 72-inch panels (pieced) | 9 yards |
| 84 to 96 inches | Two 100-inch panels (pieced) | 12 yards |
Step-by-Step Construction Guide
To make the process simple and achievable for intermediate sewists, we are using 3-inch pleater tape. This specialized tape has built-in pockets that guide your four-prong hooks to automatically form perfect pinch pleats without tedious manual folding.
Step 1: Prep and Cut Your Fabric
Always pre-wash and iron your fabric to prevent shrinkage. Cut your fabric panels according to your length calculations. If your window requires extra-wide panels, sew fabric widths together using a flat felled seam or serged seam, aligning any patterns carefully.
Step 2: Sew the Side Hems and Bottom Hems
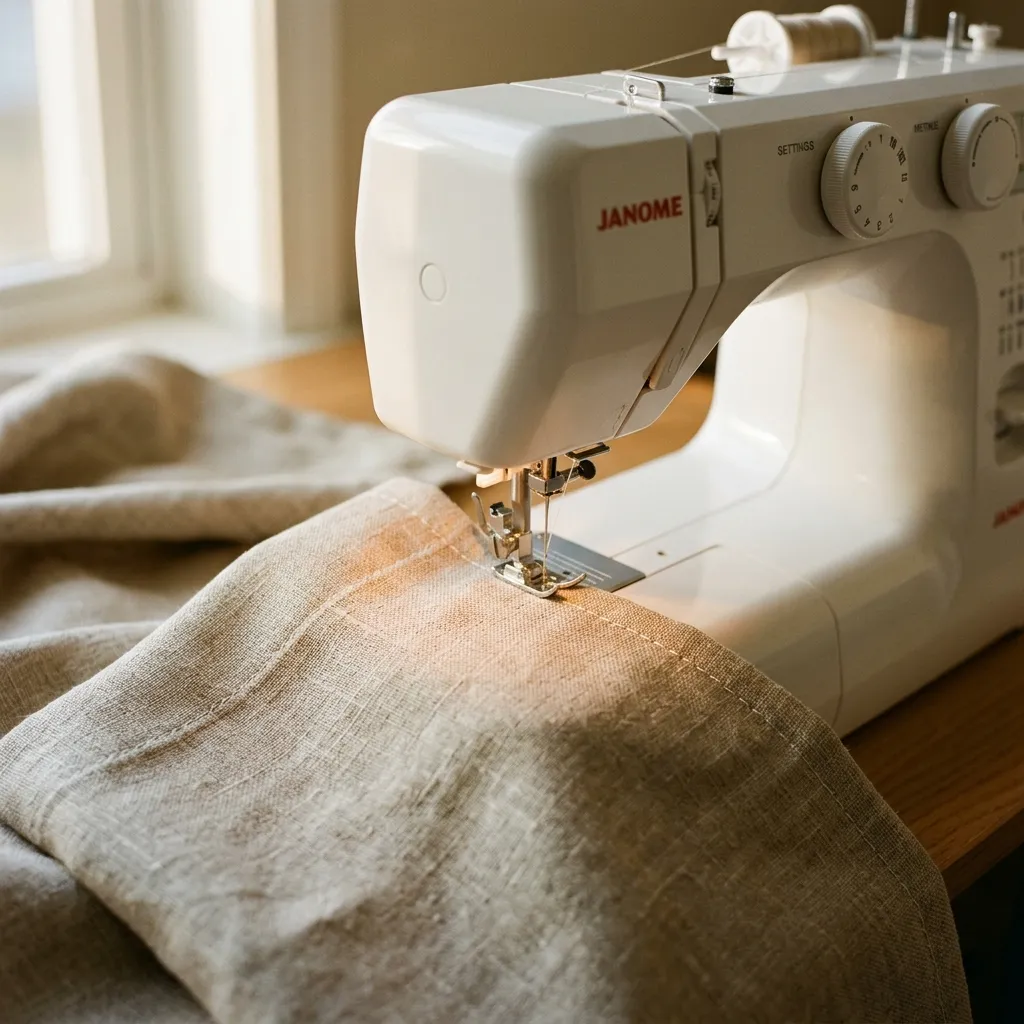
First, double-fold the bottom hem by 4 inches (fold 4 inches, press, fold another 4 inches, press). Stitch close to the inner fold. For the side edges, double-fold by 2 inches, press, and stitch. Pressing these folds with a hot iron is the single most important step to get clean, straight edges. You can also insert weight discs to prevent the edges from lifting.
Step 3: Attach the Pleater Tape
Fold the top edge of your panel down by 4 inches toward the wrong side of the fabric and press. Align the pleater tape along this folded edge on the wrong side, wrapping the raw side edges of the tape neatly inside the fold. Pin securely. Stitch along the top and bottom edges of the tape, making sure not to sew over the pocket openings.
Step 4: Insert the Pleater Hooks
Slide the prongs of your four-prong drapery hooks into the pockets of the pleater tape. To create a standard double pleat, insert the four prongs into four consecutive pockets. Skip 3 or 4 empty pockets between each hook to create flat spaces between the pleats. As you push the prongs up, they will automatically pinch the fabric into neat folds. Ensure all hooks are inserted at the same depth so the curtains hang level.
"To make your draperies hang like they were done by a professional design house, steam them thoroughly once they are hung on the rod. This helps 'train' the pleats to fall straight to the floor."
Frequently Asked Questions (FAQ)
What hook spacing is best for pinch pleats?
Standard pleat spacing is between 4 and 5 inches. Spacing closer together (4 inches) creates a fuller look with more pleats, while wider spacing (5 inches) is suitable for cleaner, modern aesthetics.
Can I make pinch pleat curtains without pleater tape?
Yes, you can construct custom pleats manually by folding, measuring, and stitching down the base of each pleat. However, using pleater tape is much faster, more consistent, and highly recommended for beginners and intermediate makers.