⏱️ Roman Shades Masterclass: Core Specifications
- Difficulty: Advanced Intermediate
- Time Investment: 5-6 hours per shade
- Primary Materials: Home decor fabric, blackout lining, Roman shade cord, dowels, and wooden headrail
- Safety Standards: ANSI/WCMA child safety compliant shroud tape recommended
Window treatments are a vital design element in any interior, defining a room's light, privacy, and architectural feel. Among all window treatment designs, Roman shades stand out as a classic, tailored, and space-saving solution. They combine the soft, textured look of draperies with the functionality of traditional blinds. However, ordering custom Roman shades from designers or high-end boutiques can cost between $300 and $800 per window, making them a significant investment. Fortunately, sewing your own custom Roman shades is entirely achievable for home makers with intermediate sewing skills. This masterclass will provide the complete, step-by-step blueprint to build, sew, and install premium, professional-grade Roman shades that fit your windows perfectly.
Understanding Roman Shade Styles: Flat vs. Folded
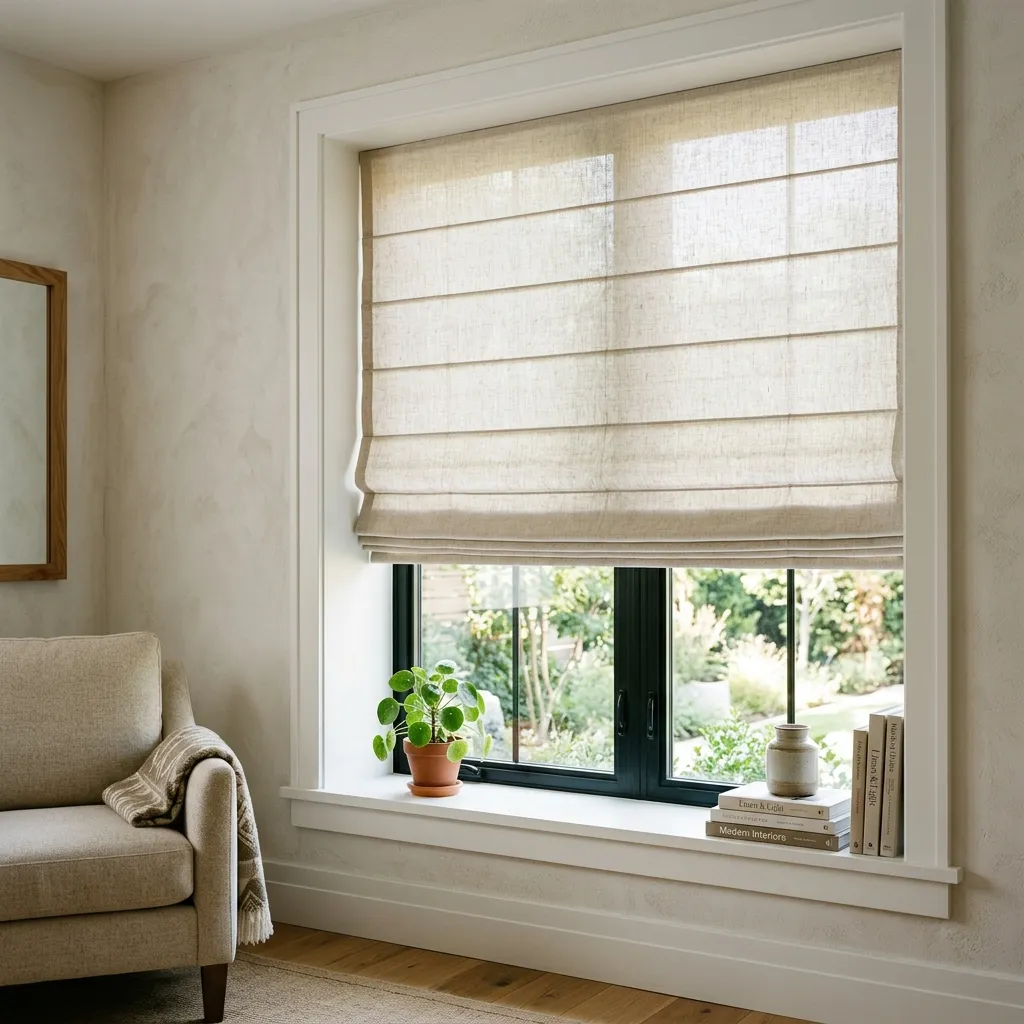
Before you purchase fabric or cut a single yard of lining, you must choose the style of Roman shade that best fits your design aesthetic. The two main styles are Flat Roman Shades and Folded (Hobbled) Roman Shades. A flat Roman shade lies completely flat against the window when lowered, showing off the fabric pattern like a clean piece of art. When raised, the fabric gathers into neat, horizontal folds at the top. This style is excellent for modern, minimalist, transitional, and farmhouse designs, particularly when using patterned fabrics. A hobbled or folded Roman shade, on the other hand, maintains soft, cascading folds even when fully lowered. This design creates a richer, more traditional look and works best with solid, textured fabrics like linen blends or light canvas. This guide focuses on constructing the classic flat Roman shade, as it is the most popular, versatile, and structurally straightforward style to sew.
Inside Mount vs. Outside Mount: Choosing the Right Fit
The mounting position of your Roman shade determines both the final look and the measurement process. An inside mount means the shade sits completely within the window casing. This provides a clean, architectural look that highlights beautiful woodwork or molding. However, it requires a window casing depth of at least 2 inches to accommodate the mounting bracket and wooden headrail. An outside mount means the shade is mounted to the wall above the window frame or directly onto the window trim. This style is ideal for windows with shallow casings, or when you want to make a window appear larger by mounting the shade higher and wider than the actual frame. Outside mounts are also superior for light control, as they overlap the frame to minimize light leaks along the side edges.
Measuring Your Window with Professional Accuracy
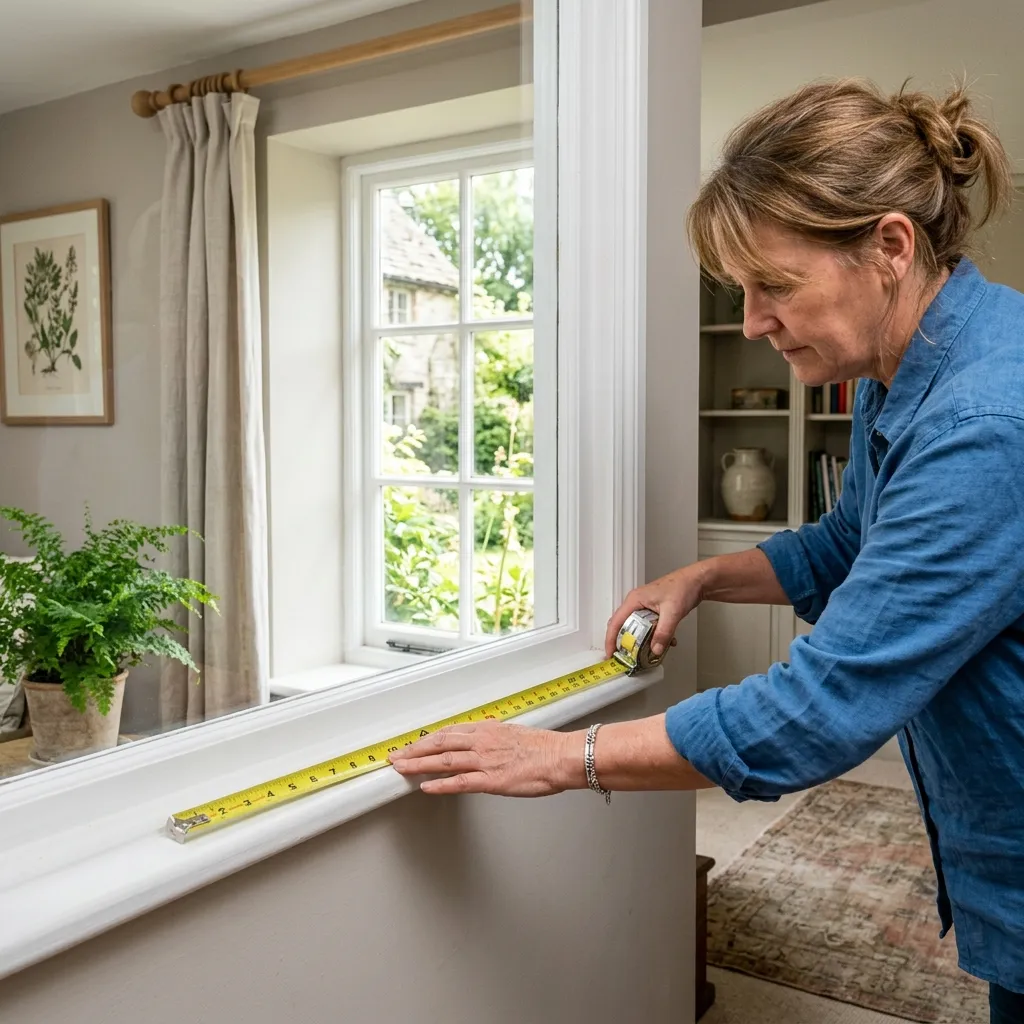
Precision is key to sewing successful window treatments. Always use a metal measuring tape rather than a fabric tape measure, as fabric tapes can stretch over time and lead to inaccurate measurements. Measure to the nearest eighth of an inch, and do not round your numbers.
For an inside mount, measure the width inside the window casing at three locations: top, middle, and bottom. Record the narrowest width. This ensures the shade will not rub against the window frame. Deduct exactly 3/8 of an inch from this width to allow the shade to move up and down freely. Next, measure the height from the inside top casing to the windowsill at three locations (left, center, and right) and record the longest measurement.
For an outside mount, determine the desired finished width of the shade. We recommend measuring the outer edges of the window trim and adding 2 to 4 inches to cover the frame and prevent light leaks. For the finished height, measure from the spot where you plan to mount the wooden headrail (typically 2 to 6 inches above the frame) down to the windowsill, or to your desired length.
Fabric Sizing and the Mathematical Formula for Folds
To ensure your Roman shade folds up evenly, you must calculate the placement of the dowel rods and rings mathematically. A standard Roman shade uses thin dowels spaced at equal intervals along the back of the shade. These dowels create the support structure that lifts the fabric. The distance between the dowel pockets determines the size of the folds. A standard fold size is between 8 and 10 inches, which creates a folded section of 4 to 5 inches when the shade is raised.
Let's calculate the fold spacing using a standard formula. Suppose your finished shade height is 60 inches. We want our fold sections to be approximately 8 inches. Divide the finished height by 8 (60 / 8 = 7.5). Round this number to the nearest whole integer to find the number of sections (8 sections). Now, divide the finished height by the number of sections to get the exact section height: 60 inches / 8 = 7.5 inches. This means you will space your dowel pockets exactly 7.5 inches apart, starting from the top edge of the bottom hem. The bottom section is typically made slightly shorter (half the section height plus 1 inch) so that it folds up neatly behind the upper folds when the shade is raised, preventing the bottom of the shade peeking out.
Selecting Premium Fabrics and Linings
The choice of fabric determines how your Roman shade drapes, folds, and holds its shape. Mid-weight to heavy-weight fabrics are ideal. Cotton duck, linen, linen-cotton blends, and medium jacquards are excellent choices. Avoid fabrics that are extremely lightweight or slippery, such as silk or thin polyester, as they are difficult to keep aligned during sewing and may sag over time. Avoid extremely heavy upholstery fabrics, as they will create bulky, thick folds that do not stack cleanly.
The lining is just as important as the face fabric. A high-quality lining protects the decorative fabric from sun damage, provides body and structure, and improves the energy efficiency of your window. For bedrooms and media rooms, choose a premium blackout lining. For living spaces where you want filtered natural light, select a high-density sateen drapery lining. For a luxury finish, consider adding a layer of cotton flannel interlining between the face fabric and the lining. Interlining adds weight, insulation, and a soft, padded structure that makes the folds look incredibly rich.
Essential Materials Checklist
- Face Fabric: 2 yards of medium-weight decorator fabric
- Drapery Lining: 2 yards of premium sateen or blackout lining
- Wooden Headrail: A 1x2 pine board cut to your finished shade width
- Dowel Rods: 3/8-inch wooden dowels or fiberglass rods (1 rod per pocket)
- Roman Shade Shroud Tape: A child-safe tape with pre-sewn cord guide loops
- Drapery Cord: 1.8mm polyester Roman shade cord
- Weight Bar: A flat aluminum or wooden strip for the bottom hem pocket
- Mounting Hardware: Eye screws, L-brackets, cord lock (optional), and wall cleat
Step-by-Step Construction Guide
Step 1: Preparing and Cutting the Panels
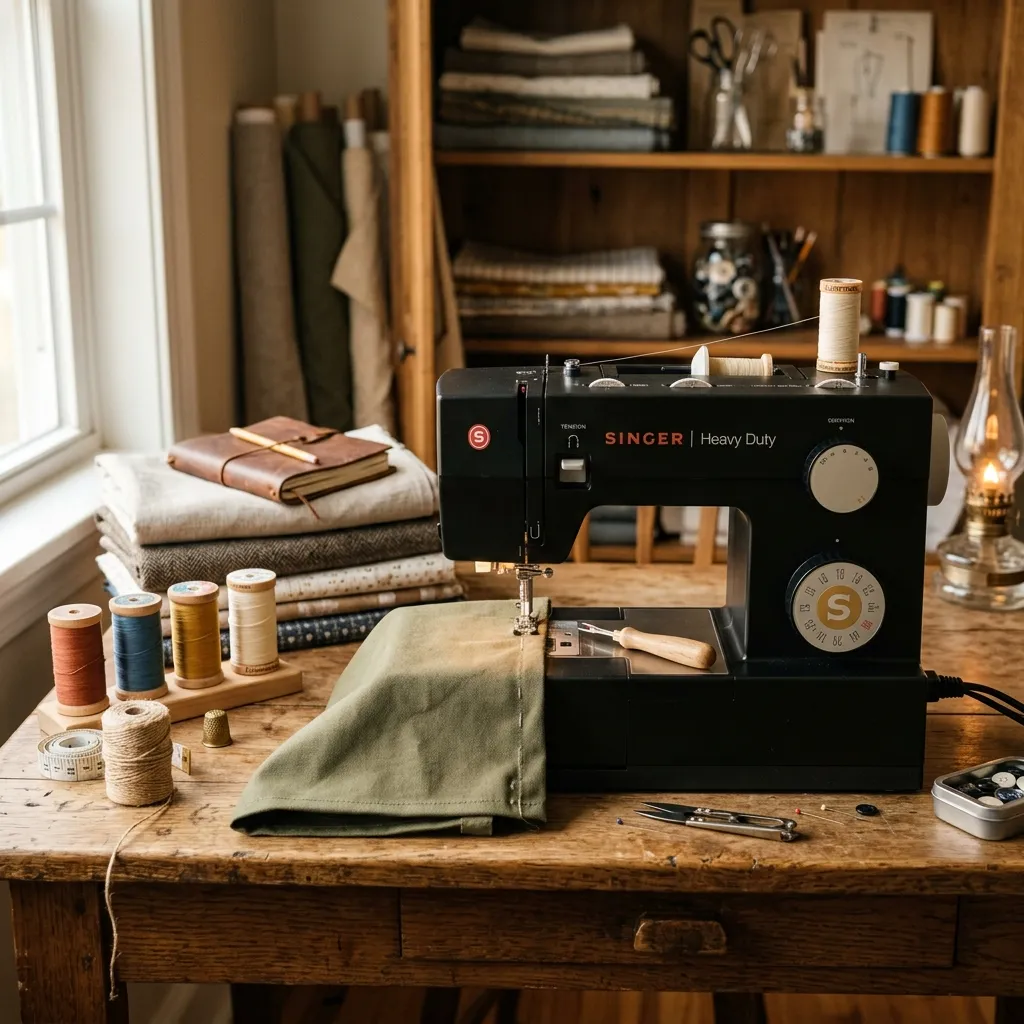
Begin by cutting your face fabric and lining. For the face fabric panel, add 4 inches to the finished width (for 2-inch double side hems) and add 6 inches to the finished height (for a 3-inch bottom hem and 3-inch top wrap). For example, for a finished shade of 36x60 inches, cut the face fabric to 40x66 inches. Cut the lining fabric to the exact finished width of the shade plus 2 inches (38 inches) and the exact finished height plus 4 inches (64 inches).
Step 2: Sewing the Bottom and Side Hems
Place the face fabric flat on your worktable, wrong side facing up. Fold the bottom edge up by 3 inches, press with a steam iron, and stitch close to the raw edge to create a clean pocket. This pocket will hold the weight bar. Next, fold the side edges in by 2 inches on each side, press, and stitch. Repeat the hemming process for the lining panel, double-folding the bottom and sides by 1 inch, pressing, and stitching. Pressing with an iron before stitching is essential to ensure perfectly straight hems.
Step 3: Marking the Dowel Pocket Intervals
Lay your hemmed lining panel flat on the worktable, wrong side facing up. Using your mathematical calculations, mark horizontal lines across the lining where each dowel pocket will be placed. For our 60-inch shade, you will draw horizontal lines spaced exactly 7.5 inches apart, starting from the top edge of the bottom hem. Use a fabric marker or tailor's chalk to ensure these lines are perfectly perpendicular to the side hems.
Step 4: Creating and Attaching the Dowel Pockets
To house the dowel rods, we need to create pockets on the lining. You can make pockets by folding the lining fabric along the drawn lines and sewing a 1/2-inch seam, or by sewing strips of bias tape or pocket tape over the marked lines. The fold method is highly recommended: pinch the lining along the marked line, right sides together, and sew a straight seam 1/2 inch from the folded edge. Slide your cut wooden dowels or fiberglass rods into these pockets. The dowels should be cut 1 inch shorter than the finished width of the shade so they do not poke out.
Step 5: Attaching Child-Safe Shroud Tape
Safety is a critical consideration for custom window treatments. Standard loose cords pose a hazard for children and pets. To make your Roman shade compliant with safety guidelines, use Roman shade shroud tape. Shroud tape is a thin mesh ribbon containing pre-integrated cord loops spaced every few inches. Align the shroud tape vertically along the back of the lining, crossing over each dowel pocket. Place the vertical rows of tape 8 to 12 inches apart across the width of the shade. Sew the shroud tape to the lining, securing it firmly where it intersects with each dowel pocket. This creates a neat, structured guide system that keeps the lift cords safely enclosed.
Step 6: Joining the Face Fabric and Lining
Lay your finished lining panel on top of the face fabric panel, wrong sides together. Align the side and top edges. Pin the panels together securely. Stitch along the side hems and the top edge, joining the lining to the face fabric. Leave the bottom pocket open so you can insert the weight bar later. Press the joined shade flat with a steam iron, taking care not to melt any synthetic linings.
Step 7: Prepping the Wooden Headrail
Take your 1x2 wooden board and wrap it with a scrap piece of your face fabric, securing the fabric with staples or upholstery tacks. This creates a matching, professional headrail. On the underside of the headrail, insert eye screws. You will need one eye screw aligned with each vertical row of shroud tape on the back of your shade, plus one extra eye screw at the side where the cords will exit. Screw them in firmly.
Step 8: Attaching the Shade to the Headrail
Align the top edge of your assembled shade with the front face of the wrapped wooden headrail. Wrap the remaining fabric at the top of the shade over the headrail and staple it securely to the top of the board. Ensure the shade hangs straight and level from the board before stapling. Alternatively, you can use heavy-duty hook-and-loop tape (Velcro) to attach the shade, which makes it easy to remove for cleaning.
Keywords: sew diy window home decor fabric linen lining dowel curtain shade roman mount measure pocket stitch headrail cord safety craft design room style pleat sewing maker custom tutorial guide fold pattern cotton sew diy window home decor fabric linen lining dowel curtain shade roman mount measure pocket stitch.